
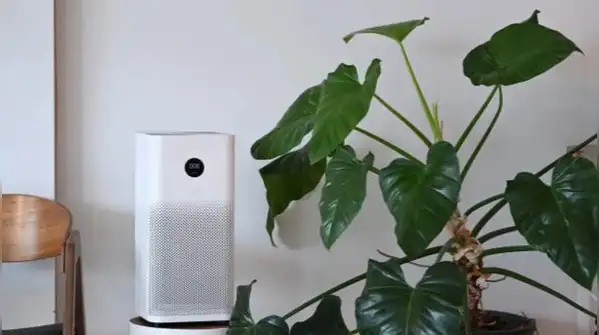
An air purifier works hard every day, pulling dust, pollen, smoke and fine particles out of your room. That also means it collects a lot of dirt itself. When the filters and vents get clogged, the machine has to work harder, airflow weakens and the air may not be as clean as you think. Delhi and other northern cities see especially bad air in the winter months, so this is a good time to check your purifier. The steps below are for most home models, but always look at your manual first, since cleaning rules vary by brand and filter type.

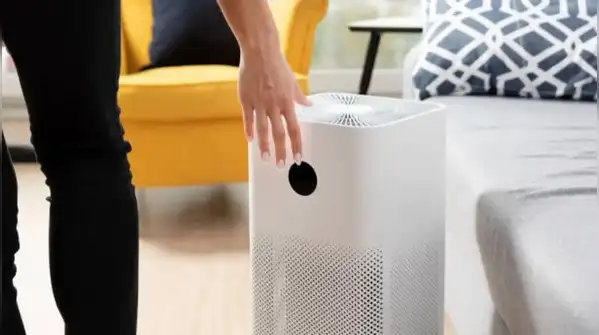
Remove it according to the manual and vacuum off the dust. If your model says the pre-filter is washable, rinse it under lukewarm water, using a little mild soap if needed, and let it dry completely in a shaded, airy place before putting it back. The pre-filter catches large particles such as hair, lint and visible dust, so it gets dirty first. A damp filter can encourage mould and smells, and may damage the machine. Many manufacturers suggest cleaning the pre-filter every two to four weeks, and more often in dusty areas. This article is intended for general informational and household purposes only. Cleaning and filter replacement instructions vary by brand and model, so always follow the manufacturer’s manual. Unplug the appliance before cleaning, never wet electrical parts and do not wash filters that are not marked as washable. If the machine malfunctions, contact the manufacturer or an authorised service centre.