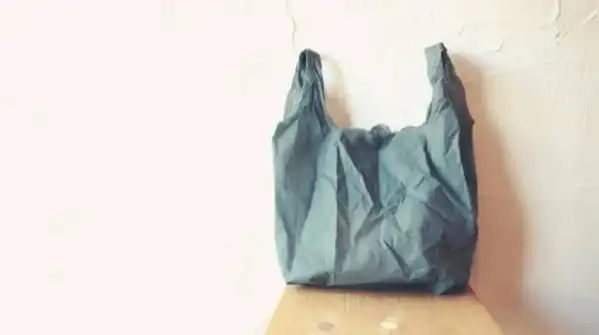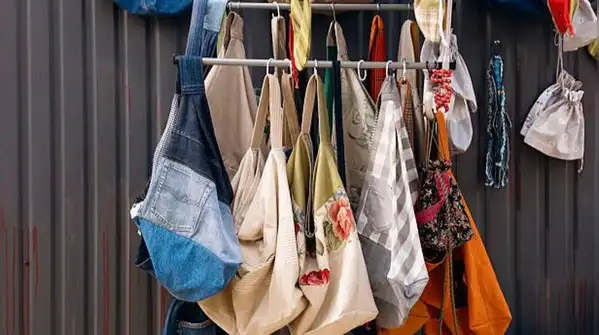
Almost every wardrobe has that one T-shirt that’s too faded to wear out, too soft to throw away, and too sentimental to hand over to the raddiwala. Before it ends up in the bin, it’s worth knowing that it can become a sturdy, reusable shopping bag in about ten minutes, with no sewing machine, no needle and no thread involved. All you need is a pair of scissors and a bit of patience with a few knots. It’s a lovely way to cut down on plastic bags and give an old favourite a second life. Here’s how to make one, step by step.
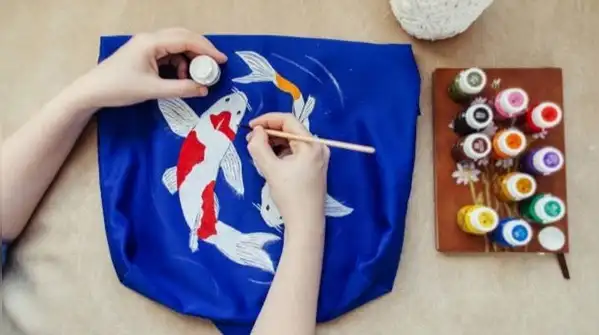
Start with a T-shirt you’re happy to sacrifice, and remember that thicker cotton makes a stronger bag. A soft, thin, well-worn shirt will do for light shopping, but for heavier loads like vegetables, go for a thicker one. Wash and dry it first so any shrinkage happens before you cut. Then lay it flat on a table, inside out, and smooth it out. You’ll only need a sharp pair of scissors and, if you like, a ruler and a washable marker to mark your cutting lines. Cut off both sleeves, following the seam line so the shoulder pieces stay intact, since these will become your bag’s handles. Then cut out the neckline, making it as wide as you like. Don’t cut exactly along the stitching, going a little lower gives you a bigger opening, which makes it much easier to fit groceries inside. If you fold the shirt in half before cutting, both sleeves come out identical, which keeps the handles and the neckline nice and even.
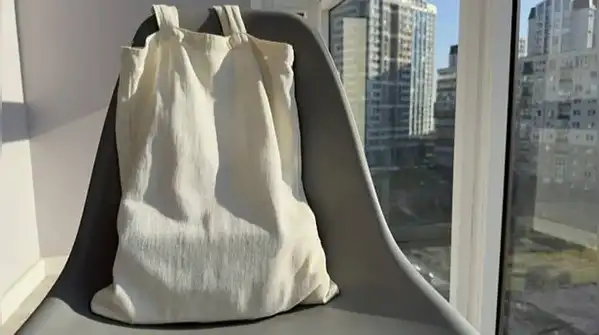
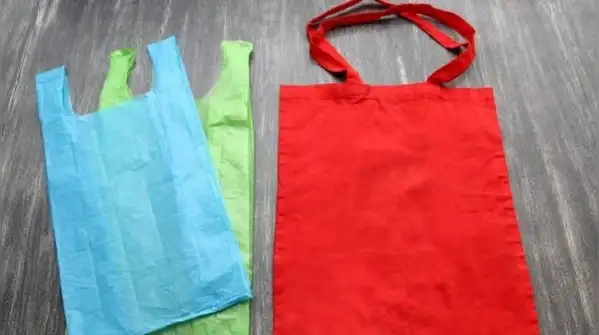
DIY: How to make a reusable shopping bag from discarded clothes with this easy step-by-step method
Turn the shirt inside out and chop off the bottom hem. Then decide how deep you want the bag to be and draw a line across the shirt. Remember that the longer you cut the fringe, the shorter your bag ends up, and that fabric tends to stretch once it’s loaded. Now cut slits from the bottom edge up to your line, about three-quarters of an inch to an inch apart, cutting through both the front and back layers together so the strips line up. This is the part that turns a shirt into a bag. Starting at one end, take each front strip and its matching back strip, and tie them together in a tight double knot. Carry on across the whole base. You’ll notice small gaps between the knots, so close them by tying one strand from one pair to a strand from the pair beside it. Once everything is knotted, turn the bag right side out, and the knots will be hidden inside the base. Lift the bag gently and check whether any knots loosen under weight, tightening them if needed. For heavier shopping, slip one shirt inside another to double the strength. If you’d like to personalise it, you can decorate the outside with fabric paint, tie the handles in a knot for a casual bucket-bag look, or leave the fringe showing on the outside. Every bag comes out a little different, and that’s really part of the charm. Wash it gently to keep it going for years.