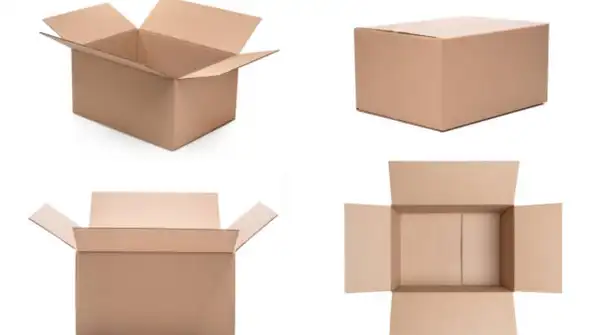
That large cardboard box lying near the door after a furniture delivery may look like something meant for the recycling bin. But before you throw it away, take another look. With a little cutting, layering and some clever finishing, discarded cardboard can become furniture that looks surprisingly expensive.
And no, we’re not talking about flimsy craft projects that fall apart after a few days. Thick corrugated cardboard, when layered properly and supported with a strong structure, can be used to make stools, side tables, shelves and even decorative furniture for your home. The trick is in the construction and, more importantly, the finish. A coat of paint, textured paper or wood-effect laminate can make a basic cardboard structure look like something picked from a home decor store. Here are five DIY furniture ideas worth trying. A small side table beside the sofa or bed doesn’t have to cost a fortune. Thick cardboard can be cut into identical panels and stacked together to create a solid tabletop. For the legs, roll several layers of cardboard tightly or build box-shaped supports and reinforce them with additional pieces. Once the structure is firm, cover the surface with marble-effect adhesive vinyl. White vinyl with grey veins can give it the appearance of a marble table. A matte finish can make it look even more convincing. This works best as a decorative side table for lightweight objects such as books, a small vase or a table lamp. Don’t use it to hold heavy appliances. A bedside table is one of the easier furniture projects to attempt with cardboard. Start with a sturdy box or build a rectangular structure using thick corrugated sheets. Add separate cardboard panels to create a tabletop, sides and a bottom shelf. Want it to look like expensive wooden furniture? Cover the entire structure with wood-grain contact paper. You can also create a small drawer using a cardboard box, adding a metal or wooden knob to give it a proper furniture-like appearance. The finished table can hold your phone, books and other lightweight bedroom essentials. This one requires a little more patience, but the result can be quite interesting. Cut several identical circular or square cardboard pieces and stack them together using strong adhesive. The more evenly the layers are cut and joined, the better the final shape. You can create a cylindrical stool or a simple cube-shaped seat. Wrap the outside with thick fabric, textured wallpaper or faux leather upholstery. Add a neatly finished cushion on top. However, cardboard furniture isn’t automatically strong enough to support someone’s weight. For an actual seating stool, the design needs substantial structural reinforcement and load testing. A decorative version is safer if you’re experimenting for the first time. Have an empty wall that needs a little attention? Cardboard can be used to create decorative shelves for lightweight objects. Cut thick cardboard into rectangular pieces and join them to form a box-like shelf. Use multiple layers to strengthen the base and sides. Cover the structure with textured wallpaper, paint or wood-effect paper. You can make several shelves in different sizes and arrange them in a staggered pattern. They can hold artificial flowers, small decorative pieces and lightweight photo frames. Avoid placing heavy books or breakable objects on cardboard shelves, particularly if they’re mounted on a wall. A console table can make an entryway look more organised, but buying one isn’t always cheap. For a budget DIY version, build a narrow rectangular frame using thick cardboard panels and reinforce the joints with additional cardboard supports. Cover the structure with beige textured paper, faux wood sheets or metallic-finish adhesive film. You can also add decorative moulding made from lightweight materials to create a more detailed, furniture-inspired appearance. Place a small mirror above it and use the surface for lightweight decorative accessories. The finished piece can give an otherwise empty entrance a more put-together look. Cardboard furniture needs more attention to construction than ordinary craft projects. Use thick corrugated sheets, reinforce joints and allow adhesives to dry completely. Keep the furniture away from damp floors and water, as cardboard loses strength when wet. And don’t expect every piece to replace solid wood furniture. These projects are best suited to lightweight, decorative use. But with careful cutting and a good finish, something that was headed for the recycling bin can become an interesting addition to your home.