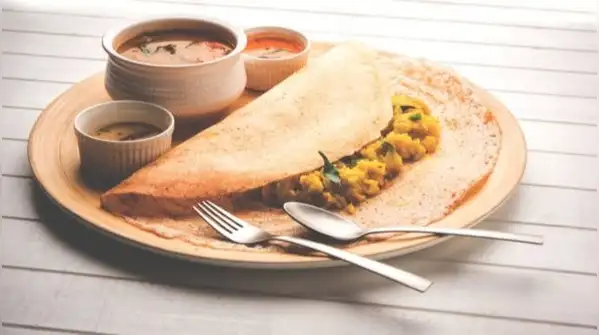
We have all been there. The batter clings to the pan, tears the moment you try to spread it, or comes out soft and floppy instead of thin and crackly like the dosa at your favourite restaurant. The good news is that there is rarely a secret recipe behind it. A few small habits in how you prepare the batter and handle the pan make most of the difference. Here are three simple tricks, explained in five easy steps, to help you get thin, golden and perfectly crisp dosas at home.

Keep the batter in a warm spot for 8 to 10 hours, or a little longer in cooler weather, until it rises and looks light and bubbly. Because the batter is too heavy, many dosas turn thick and soft simply. Along with the usual rice and urad dal, add a small handful of poha (flattened rice) or a spoonful of cooked rice while grinding, and soak a teaspoon of fenugreek seeds with the dal. These little extras help the batter ferment well and turn lacy and golden on the tawa. Grind until smooth and airy, since a fluffy batter gives you a lighter, crisper dosa. It is a small change, but many home cooks say it is the one that finally works for them. Patience pays off here. A well-fermented batter smells pleasantly sour and gives dosas that brown evenly and crisp up well. Do not rush it by adding too much soda or yeast. In winter, try placing the vessel inside a switched-off oven with the light on, or near a warm corner of the kitchen so the batter gets the gentle warmth it needs. Aim for a pourable texture, a little thinner than idli batter and close to thick buttermilk. Add water a spoonful at a time and stir gently instead of whisking hard, which knocks out the air built up during fermentation. Mix in salt just before cooking, and add a pinch of sugar if you like deeper browning. If the batter has been in the fridge, let it come to room temperature first, as cold batter cooks unevenly and sticks to the pan. The pan is where a good batter either shines or fails. A well-seasoned cast iron tawa or a good non-stick pan works best. Heat it properly, then lower the flame slightly and wipe the surface with half an onion or a damp cloth. This cools the pan just enough so the batter spreads smoothly instead of setting in clumps. Avoid using too much oil before spreading, as it makes the batter slide around. A clean, evenly heated surface is the secret behind those restaurant-style lacy edges. This article is intended for general informational and cooking purposes only. Fermentation time, batter texture and cooking results vary with weather, ingredients, equipment and individual technique. Handle hot pans, oil and open flames with care, and keep children away from the stove. People with food allergies or dietary restrictions should check ingredients before use.
Crispiness begins long before the pan gets hot.