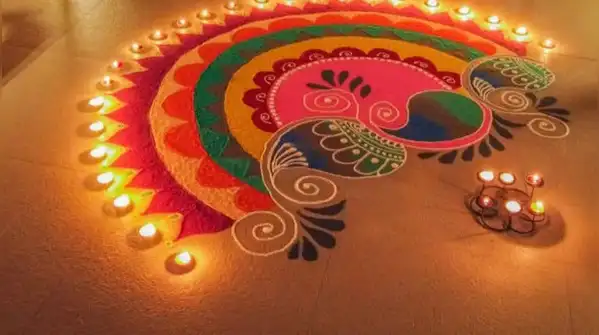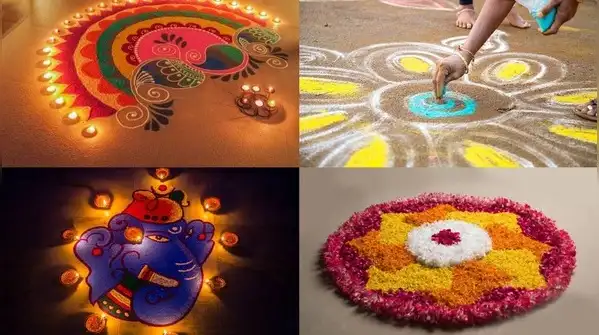
Rangoli is one of the oldest ways of welcoming guests and, according to tradition, bringing good fortune into the home. With Diwali only days away, many families are already bending over the floor with colours, flowers and diyas in hand. You do not need to be an artist to make a pretty one. A few simple shapes, a steady hand and a handful of bright materials are enough to create a striking entrance. Here are five easy rangoli ideas for beginners, along with a few tips to help them last through the festival.
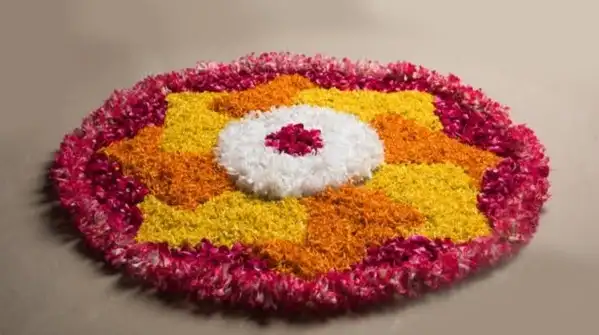
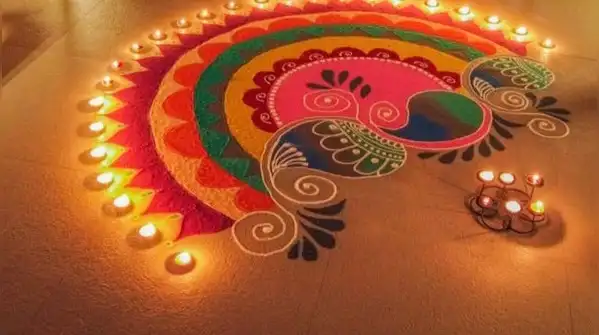
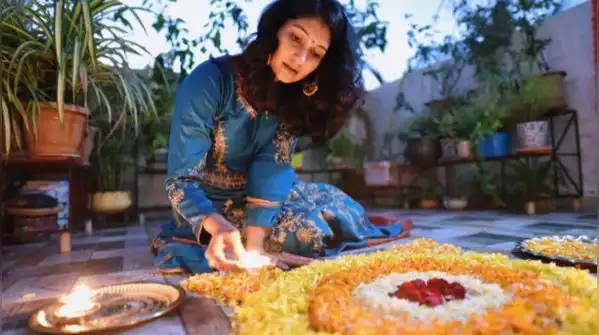
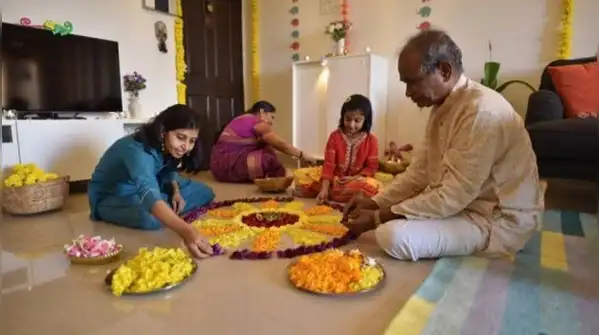
Start by making a grid of dots on the floor with chalk, such as an 11 by 11 grid for a medium-sized design. The lotus is a symbol of purity and prosperity, and it is one of the most popular Diwali designs. Join the dots with curved lines to form a row of petals around a central circle, then add a second, larger row of petals behind the first. Fill the petals with pink, white and red, and use yellow or orange for the centre. Edge the design with a thin white outline to make the colours stand out. This pattern is easy and works well in a narrow space such as a corridor or doorway. Draw a row of small diyas along the edge of the entrance, each with a tiny flame on top. Colour the diyas in bright shades, and fill in the flames with yellow and orange. You can place real clay diyas on the rangoli as well, or fill a row with tea lights in glass holders. Add a simple line or a scalloped border above and below the diyas to make it look complete. If you prefer to avoid coloured powders, a petal rangoli is a fragrant and natural choice. Collect marigolds, rose petals, chrysanthemums and green leaves, and separate the petals into piles by colour. On a clean floor, draw a simple circle or a star shape with chalk, then fill it in with petals in layers, working from the centre outward. Place a diya or a small bowl of water with floating flowers in the middle. Fresh flowers wilt in a day, so make this design close to the festival and keep it out of direct sun. The peacock is a graceful and colourful pattern that suits an entrance with more space. Draw a simple curved body and neck in the centre, with a small crown on the head. Then sketch a fan of feathers around it, with each feather ending in a teardrop eye shape. Fill the feathers with blue, green, purple and gold, and make the eyes pop with contrasting colours. If freehand drawing feels hard, use a stencil or trace a printout on the floor. For a clean, modern look, try a star or mandala design built from simple shapes. Draw a large circle with chalk, mark the centre and divide it into eight equal sections using straight lines. Add a smaller circle inside, then draw triangles in each section to form a star. Fill the triangles in alternating colours, such as red, yellow, green and blue, and finish with a border of small dots. Using a ruler, a plate or a bowl helps keep the shapes even.
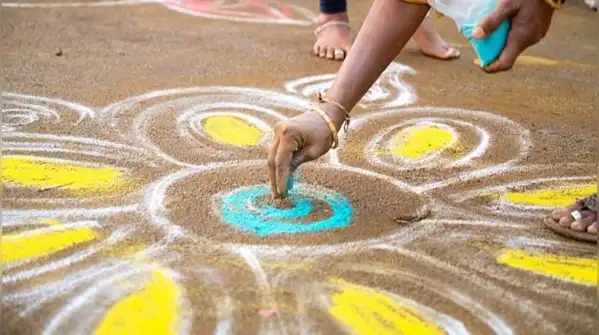
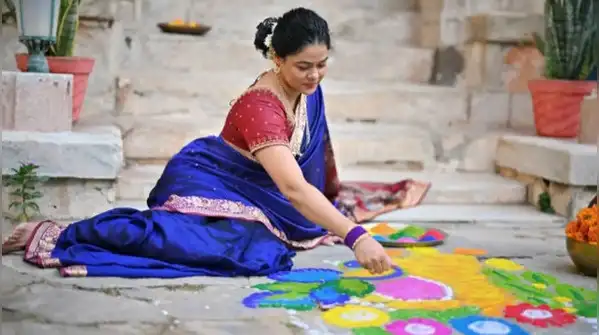
Sweep and wipe the floor first so the colours stick, and sketch your design lightly with chalk before filling it in. Use a small funnel, a cone made of paper or a spoon to control the flow of colour, and pinch the powder between your fingers for fine lines. Start from the centre and work outwards, so you do not step on finished parts. Keep a damp cotton bud handy to fix mistakes. Make sure the rangoli is not in the way of people walking in and out, and place any diyas where they will not be knocked over. This article is intended for general informational and craft purposes only. Results vary with materials, surface and individual skill. Use caution when lighting diyas and candles, and keep them away from flowers, fabric, paper and anything flammable. Never leave lit lamps unattended, and keep children and pets away from open flames. Some rangoli colours may irritate sensitive skin, so use skin-safe colours and wash your hands afterwards.