
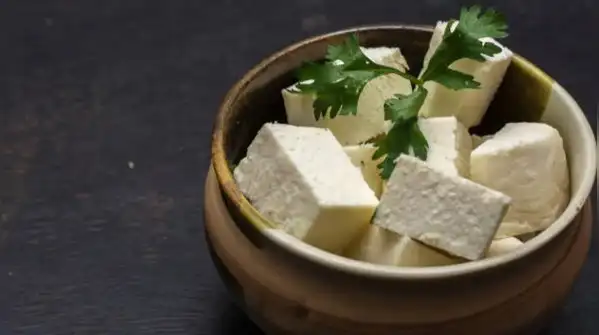
There’s a reason so many people give up on homemade paneer after one disappointing attempt. It comes out rubbery, crumbly, or just tastes nothing like the soft, melt-in-the-mouth cubes you get from a good sweet shop, and most people quietly decide it’s easier to just buy it from the store from then on. But the truth is, paneer is one of the simplest things you can make at home, needing just three ingredients you almost certainly already have. The difference between soft, creamy paneer and a chewy, disappointing block usually comes down to a couple of small details most recipes gloss over, and once you know them, this becomes one of those things you’ll never buy from a shop again.
All you really need is milk, an acid, and a little patience
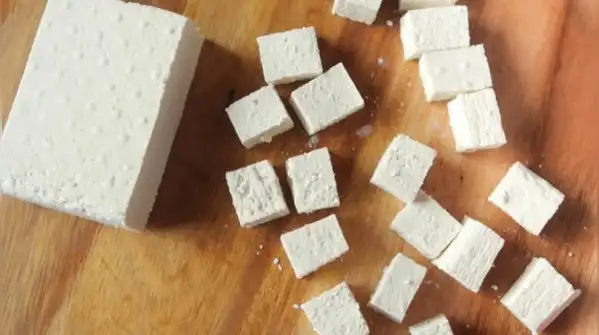
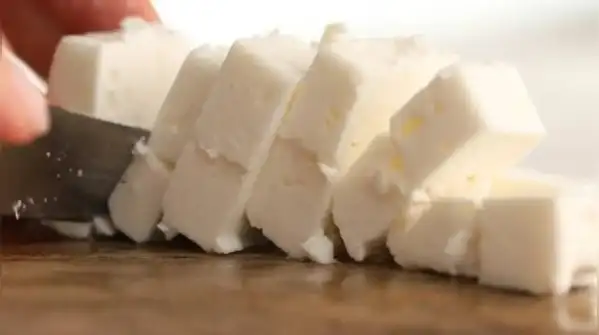
The entire recipe rests on just three things: full-fat milk, a souring agent like lemon juice or vinegar, and a pinch of salt if you like. That’s genuinely it. Full-fat milk matters more than people realise here, since the fat content is what gives paneer its soft, rich texture, and using low-fat or skimmed milk almost always results in something drier and more crumbly. Lemon juice tends to give a cleaner, milder flavour compared to vinegar, which can leave a faint tang behind if you use too much, though both work perfectly well for curdling the milk. Turn off the heat and let the curdled milk sit for two to three minutes so the curds fully separate from the whey. Pour the mixture through a muslin cloth or a fine cheesecloth set over a bowl, letting the whey drain away while the soft curds collect inside the cloth. Give the curds a very quick rinse with cold water at this stage, which does two things at once: it washes away the lingering taste of lemon and stops the cooking process so the paneer doesn’t turn rubbery from residual heat. Once pressed, unwrap the paneer and cut it into cubes using a sharp knife, wiping the blade clean between cuts for neater edges. If you’re not using it immediately, submerge the cubes in a bowl of cold water and refrigerate, which keeps them soft and prevents them from drying out or hardening at the edges. Stored this way, homemade paneer typically stays fresh for two to three days, though it’s genuinely best used within a day or two while it’s still at its softest. Beyond the obvious cost savings, homemade paneer simply tastes fresher, with a clean, milky flavour that store-bought versions, often sitting in packaging for days, rarely manage to match. You also have full control over the texture, deciding exactly how soft or firm you want it depending on what you’re cooking. There are no preservatives, no guesswork about how it was stored, just milk, a little acid, and twenty minutes of your time.
This article is intended for general informational purposes only. Actual results may vary slightly based on milk quality, fat content, and regional variations in ingredients. For dietary concerns or specific nutritional guidance, consult a qualified nutritionist.